|
|
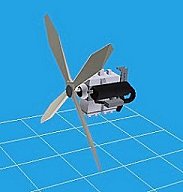
Creating vehicle using elements can be a tedious and possibly complicated work, because you have to place and edit each component yourself, moreover the elements themselves are not visual and do not influence the looks of the vehicle. To design vehicles visually use the components available and possibly make additional components yourself. Before going in depth into components design please see this tutorial.A component is a composition of mesh file and elements file, each mesh file can include multiple moving parts which are identified according to the vehicle tags identified for the vehicle.x file, see these tags on the Vehicle Files. The components are located inside the components directory of the program and consist of three files for each component, the mesh file, the elements file and image file. New components can be made by the user and by add-on makers and facilitate making new and interesting vehicle compositions. The following sample shows the "Tilt_Engine" component and its structure, below you can see the contents of the tilt_engine.cfg file and the tilt_engine.jpg file.
The tilt_engine.cfg file is identical in structure to the elements.cfg file saved for the vehicle itself, it contains groups of elements and their properties, as seen on Elements. The Tilt_engine.x mesh file contain a hierarchy of mesh parts, these parts are identified using the vehicle tags as seen on Vehicle Files.
Any vehicle can be made of up to 24 components, any component can define also the panel, the camera position and the animated pilot to be used for the vehicle itself. These additional parts can be specified inside the component elements
file, a typical sample of such file can be seen inside this section below.
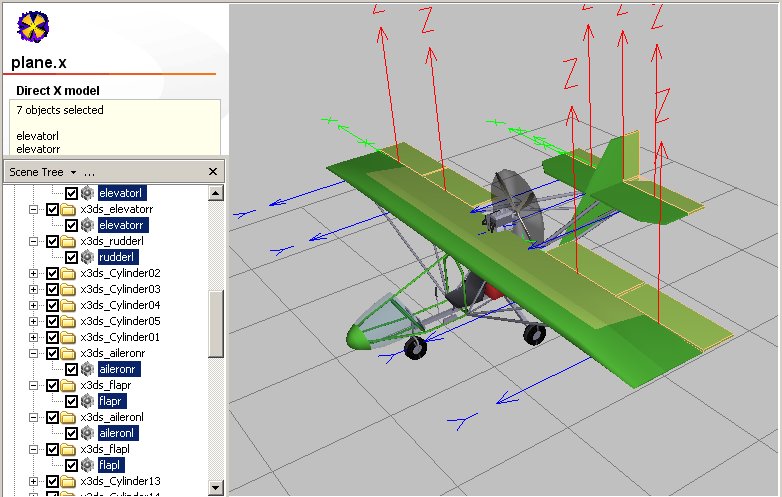
Creating new components:To create one or more components create a dummy vehicle first, use the mesh of this vehicle to define the elements visually using the element editor, then extract parts of the mesh and the elements related to this part into separate files for each component you extract. There is no need to move the elements or the mesh parts even if they are not centered on the component itself, it is simple to use the same positions you extract from the mesh and its components file, if panel, camera and pilot are also to be used, use copy and paste to place inside the component elements file. For example using the Aerolight vehicle and its elements file, the following components were extracted:
See examples of this inside the components directory that comes with the program.
|