|
|
Each scenery in Vehicle Simulator is built upon an elevation matrix file and a header file, these files are exported by a program called 3DEM created by Richard Horne, to download 3DEM and topographic data use this website: The elevation matrix is given in the form of a binary file with elevations given in meters, each value is two bytes long in the form of signed integer, the suffix of this file is .bin, How to obtain elevation dataAny data format supported by 3DEM can be converted into a binary scenery matrix, these include the following types of data:
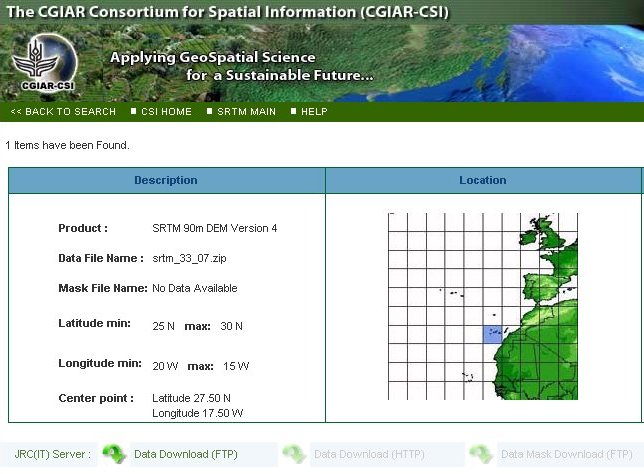
One of the most detailed formats available today is the Shuttle Radar Topography Mission (SRTM), this data is freely available for download at this website: http://srtm.csi.cgiar.org/SELECTION/inputCoord.asp Tips and hints for importing scenery elevationsVehicle Simulator imports any size of elevation matrix you use, however it is recommended not to use areas larger than 6000x6000 points of elevation because the amount of memory needed to store and process this data becomes very big. The accuracy of the imported data depends on the spacing of elevation points, Vehicle Simulator can create successful scenery using spacing of 10 meters to 1000 meters between elevation points. The data imported by the formats above typically does not contain bathymetric data, and for this reason Vehicle Simulator creates underwater depth data on its own. When the elev_m_minimum value inside the header file is less than 5 meters, the program assumes water exists in the scenery and creates elevation data for it. The depth of sea is set to 3*mesh_size when mesh_size is the spacing between elevation points. To use your own bathymetric data you can use binary matrix with negative elevations but keep the elev_m_minimum greater than 5. The water depth values created by the program are smoothed to keep land elevations as accurate as possible and still keep shorelines as smooth as possible. Creating a new scenery - scenery tutorial part 1In this tutorial we will create a simple scenery of the Cape Verde Islands, we will use SRTM data downloaded from this website: http://srtm.csi.cgiar.org/SELECTION/inputCoord.asp Once we select our area from the map we can download the area of interest in the form of zip file.
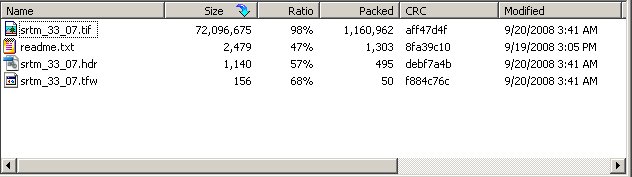
Inside this zip file there are a few files, we will use the GeoTiff file and extract it out of the zip.
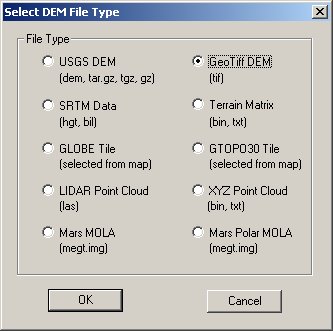
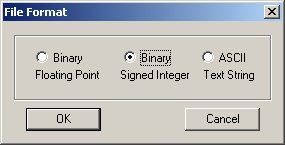
Now, we open the 3DEM program and select the GeoTiff as import format, and select the file we have extracted from the zip file.
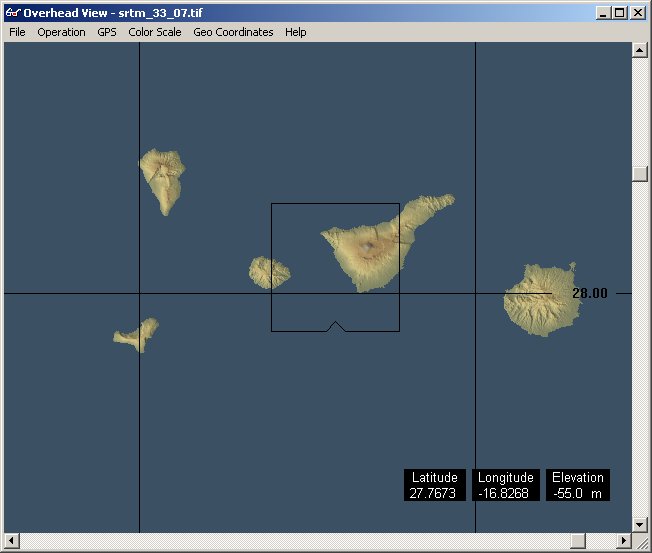
The file is read by 3DEM and we see the image of the area we selected.
Now we create a new directory inside Vehicle Simulator scenery directory and
call it "Cape_Verde" Into this directory we will save the terrain matrix from 3DEM.
We will call the file "matrix" but any name will do, select the directory "Program Files\Vehicle Simulator\scenery\cape_verde" as the save path.
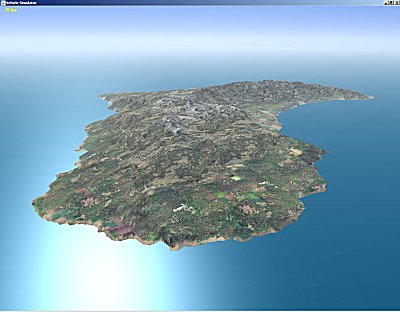
Now we can exit 3DEM, and start Vehicle simulator. Vehicle Simulator identifies the new scenery and creates an empty situation for it, when we select load we can select the "Cape_Verde" scenery and load the default situation created for it.
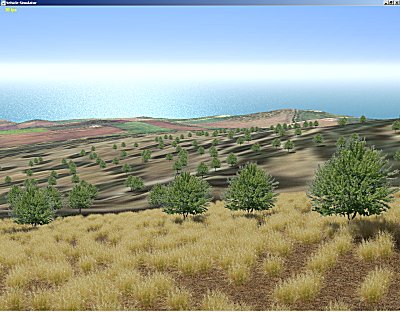
When the scenery is loaded for the first time it is imported by Vehicle Simulator, texture maps and topographic maps are created for it, once this process is complete we can explore the new scenery created. Press F4 until the simulation rate is 15 or so and then drag the mouse to slew inside the new scenery created, as you can see the scenery is actually fully functional now, containing textures, vegetation and elevations. This concludes the first tutorial of scenery making, in the following sections we will learn how to modify the vegetation and textures of this scenery and how to create objects for it.
Adding Bathymetric data to scenery elevations.After you have mastered the basics of scenery elevations, you can also add bathymetric data to your scenery making it more suitable for marine navigation and more realistic to sail in. This excellent tuorial written by Ron Visser describes very well how to obtain scenery elevations and bathymetric data and how to combine them into the scenery elevation matrix. Download the Scenery Elevation TutorialTo work with elevations and change or view the data you can use the new matrix editor which is part of the VSF Scenery Tools, download the latest of these tools from this link below. Download the Scenery Tools
|